When setting up this Hugo site, I found that most of the documentation was either very high-level (“Quick Start”) or very in-depth (Full Specs). There wasn’t much of a middle ground, giving a step-by-step process of both setting up a minimal site, and doing some basic configuration,
While it was easy enough to figure out, I thought it might be helpful to someone if I detailed the steps I took to do the following:
- Setting up the Initial Site
- Tweak the Theme (things like colors)
- Adjust the Theme Layout (things like the footer and lists)
Below, I’m providing links to the Hugo Quick Start that I used as I set up, and noting where I made changes to the steps in that guide. Also, I am using the Pulp theme rather than the theme suggested in the Quick Start.
Setting up the Initial Site
Install and Creating a New Site
I use Fedora as my Desktop OS, and I do not use
Homebrew, so I followed the instructions to
Install Hugo from Tarball. Worked well for me. That guide suggested installing at
~/bin, but I prefer to keep my local executables at ~/.local/bin to avoid
home directory clutter.
Use as directed - hugo new site quickstart.
Adding a Theme
I followed each part of this step except for the last piece. I used the
Pulp theme, and as directed by the guide, I
downloaded the theme from Github and added it to my site’s theme directory:
cd quickstart
git init
git submodule add https://github.com/koirand/pulp.git themes/pulp
See the note on the Quick Start for non-git users. I recently moved from Subversion to Git, so I was good to go here.
After this, I diverged a bit from the Quick Start Guide. Instead of adding the theme to the site configuration as suggested in the Quick Start:
echo 'theme = "pulp"' >> config.toml
…I copied the config file from the theme’s exampleSite directory:
cp themes/pulp/exampleSite/config.toml .
I found there were settings in the Theme’s config file that I needed, and there was no need to copy them to Hugo’s default config file. The default theme for the Quick Start, Ananke, is structured the same way, so you should probably do this regardless of the theme you use.
Adding Content and Starting the Server
When adding content, you preface the content file with a category. This is
really just the directory the content will be in. The category
expected by the default theme was posts, but Pulp expects a category of
blog, so my first new content command looked like this:
hugo new blog/my-first-post.md
Now, in a text editor, put something in the new file created at
quickstart/content/blog/my-first-post.md. Put your content at the bottom
of the file, so it looks something like this:
---
title: "My First Post"
date: 2020-04-04T18:32:47-04:00
draft: true
---
This is my own freshly created content!
Now, you can start your Hugo server and see your cool new site:
hugo server -D
The -D is for “Drafts”.
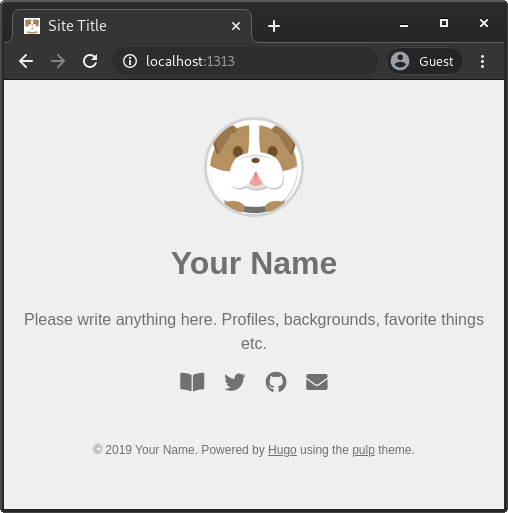
If you point your browser to http://localhost:1313/,
you should see something similar to this:
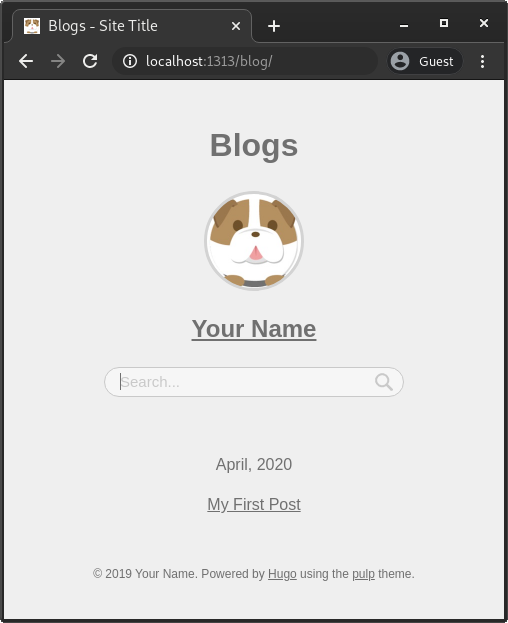
Click on the icon to the left that looks like a book, and you should see:
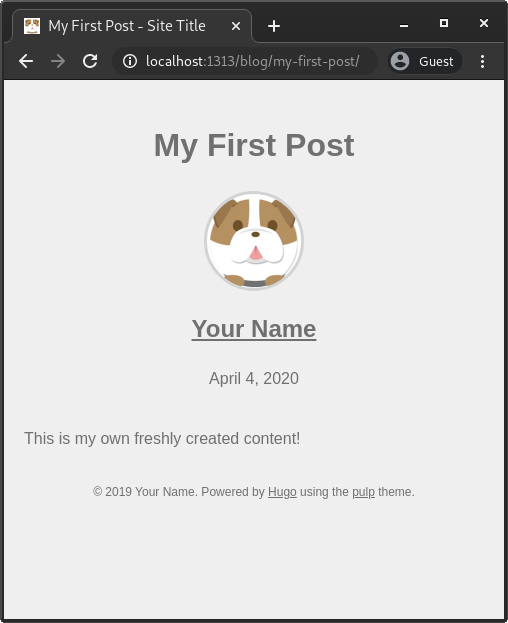
Then click on your new post link, and you should see it:
Tweak the Theme
With Step 6, I made major deviations from the Quick Start. The Quick Start really is just enough to barely get you going here. There is a lot more to do to get to having your own site configured.
Basic Customization
You will first need to change the following lines in your config.toml file
to reflect your specific site:
baseurl = "https://example.com/"
title = "Site Title"
Also, in the params section, you should change these values:
[params]
    author = "Your Name"
    avatar = "avatar.jpg"
    favicon = "favicon.ico"
    description = """
        Please write anything here.
        Profiles, backgrounds, favorite things etc.
    """
    publicationYear = "2019"
Custom Images
Don’t change avatar or favicon - the Pulp theme page has instructions for
where to put your images for both of these, namely:
- Put a 200x200 pixel image (size is important here) named
avatar.jpgin the directorystatic\img. - In the same directory, put your favicon.ico file
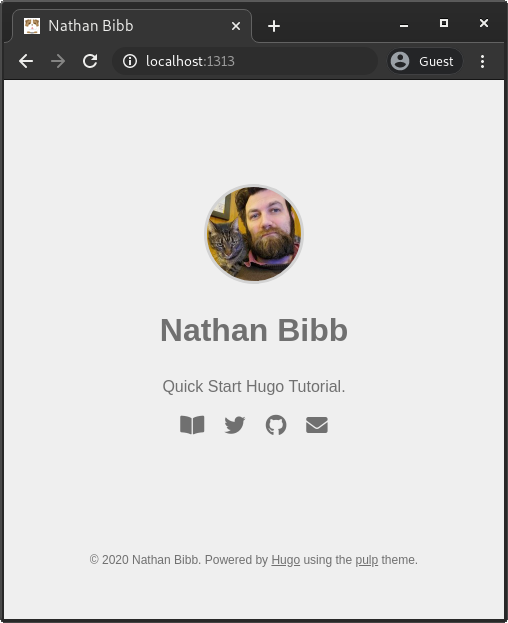
Your site should now look something like this (with your custom test):
Create the Menu
The Pulp theme provides icons from Font Awesome, so
you can change each of these menu items to point to the URL to your Twitter,
Github, and/or Email links, and add others as well. Just update or copy/paste
this block in config.toml:
[[menu.main]]
    identifier = "github"
    # name = "GitHub"
    pre = "<i class='fab fa-github fa-lg'></i>"
    url = "https://github.com/username"
    weight = 30
If you uncomment the name attribute, it will display a written name in
addition to the icon.
Custom Site Colors
Basically, anything in your theme directory can be put in your main site
directory structure, and it will override your theme. The theme styles are
located in themes/pulp/assets/css. So you COULD copy all the stylesheets
from this directory to assets/css (creating directories as needed), and your
site will use those files.
However, a better way to do this will be to override JUST the parts you want. That way, if the style is updated later, you’ll get the benefit of those updates while keeping the changes you made. To do this, you will need to do the following:
- Create a file called
static\css\custom.css. Put your custom styles here - Uncomment the line
# custom_css = ["/css/custom.css"]in yourconfig.toml
If you know how to adjust colors in CSS, you can set up your custom.css to
provide the colors you want. I don’t think there is an easier way to do this.
For instance, the custom.css I used for this site (based on the Solarized
color palette) looks like this:
/* style.css overrides */

body {
  background-color: #073642;
  color: #93a1a1;
}

a:link {
  color: #93a1a1;
}

a:visited {
  color: #93a1a1;
}

a:hover {
  color: #eee8d5;
}

a:active {
  color: #eee8d5;
}

#searchBox #searchBoxInput {
  color: #93a1a1;
  background-color:#002b36;
  border: solid 1px #93a1a1;
}

#searchBox #searchBoxInput::placeholder {
  color: #eee8d5;
}

#searchResults {
  background-color:#002b36;
  border: solid 1px #eee8d5;
}

#searchResults mark {
  background-color: #268bd2;
}

#tags li a {
  background-color: #073642;
}

#contentsList hr.separator {
  border: solid 1px #fdf6e3;
}

/* markdown.css overrides */

#contentBody hr {
  border-bottom: 1px solid #fdf6e3;
}

#contentBody blockquote {
  color: #586e75;
  border-left: 0.25em solid #fdf6e3;
}

#contentBody table th,
#contentBody table td {
  border: 1px solid #fdf6e3;
  background-color: #586e75;
}

#contentBody img {
  background-color: #586e75;
}

#contentBody code {
  background-color: #002b36;
}

#contentBody .highlight pre,
#contentBody pre {
  background-color: #002b36;
}
Adjust the Theme Layout
There were a couple of other things I wanted to change on my site that were more than just colors:
- I wanted to change how the Footer was displayed.
- I wanted to change the “blogs” screen to have some text.
Change to Footer - Hugo Partials
I discovered that the footer of the Pulp theme was defined using what are
called Partials. These are defined
for this theme in themes/pulp/layouts/partials.
To change this, I copied the file I wanted to change, footer.html, to the same
directory outside the theme directory - layouts/partials/footer.html. Then I
added this line to the file:
<footer>
<p>
© {{ .Site.Params.publicationYear }} {{ .Site.Params.Author }}.
Powered by <a href="https://gohugo.io/">Hugo</a>
using the <a href="https://github.com/koirand/pulp/">pulp</a> theme.
</p>
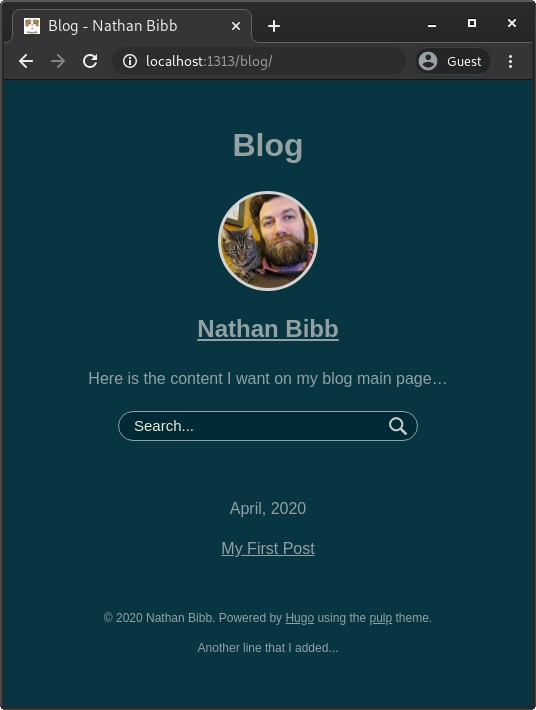
<p>Another line that I added...</p>
</footer>
{{- range .Site.Params.custom_js -}}
<script src="{{ . }}"></script>
{{ end }}Change the “List” Default
This one took me a while to figure out. I finally found what I needed buried in the List Template page in the Hugo Documentation. Here’s what I did - you can read up in the docs to get the details on why this worked:
- I created a new
content/blog/_index.mdfile.
hugo new blog/_index.md
- In this file, I added the text I wanted to display on the main page of the blog.
---
title: "Blog"
date: 2020-04-04T23:29:35-04:00
draft: true
---
Here is the content I want on my blog main page...
- To get this to display, I had to change the
list.htmldefault layout. I copiedthemes/pulp/layouts/_default/list.htmltolayouts/_default/list.html, and updated the copied file to add the{{.Content}}Shortcode
{{ define "main"}}
  <h1>{{ .Title }}</h1>
  {{ partial "header.html" . }}
  <!-- search box -->
  {{.Content}}
  <div id="searchBox">
    <input type="text" id="searchBoxInput" placeholder="Search..." />
    <img id="searchBoxIcon" src="{{ .Site.BaseURL }}/img/search.png" />
  </div>
Now with all these changes, your blog page should look something like this:
Addendum: Building the Static Pages and Deploy
Once all of this is done, you are ready to build your static page.
The last piece I did here was to configure hugo deploy to deploy directly to
my Google Cloud Storage bucket. I’m pretty sure I just followed the
Hugo Deploy Documentation
for that piece.